How to Capture the Milky Way in Buffalo River Country
June 26, 2021Before your Photography Shoot
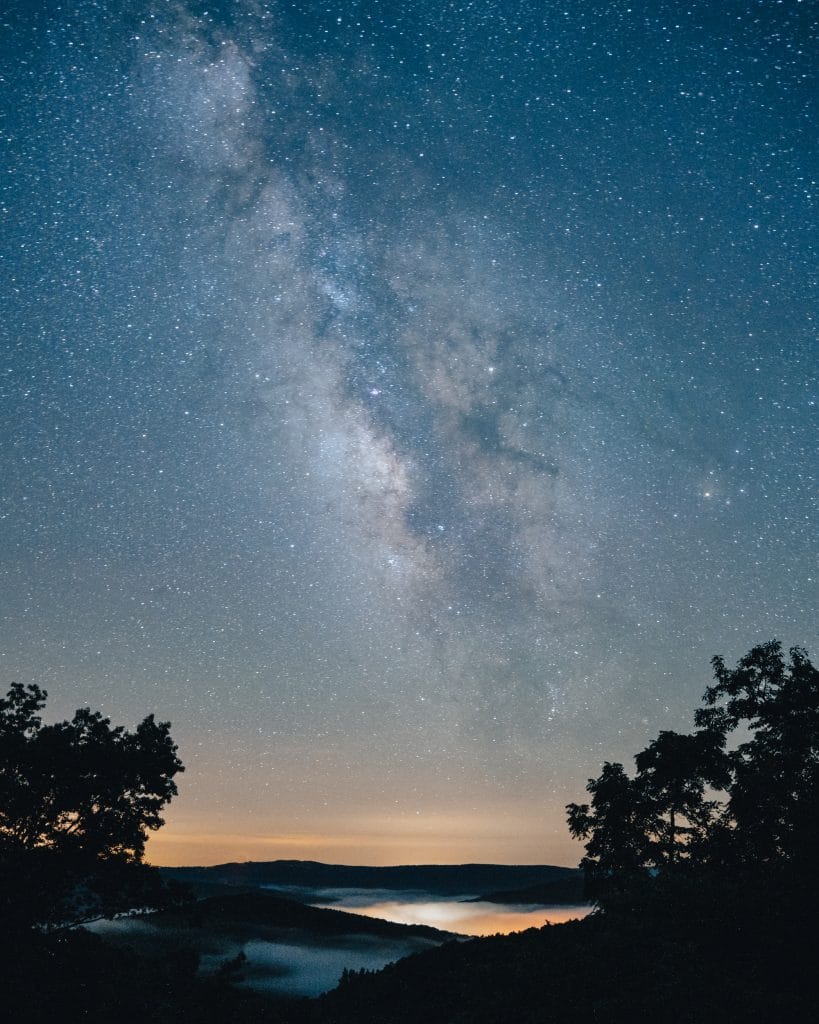
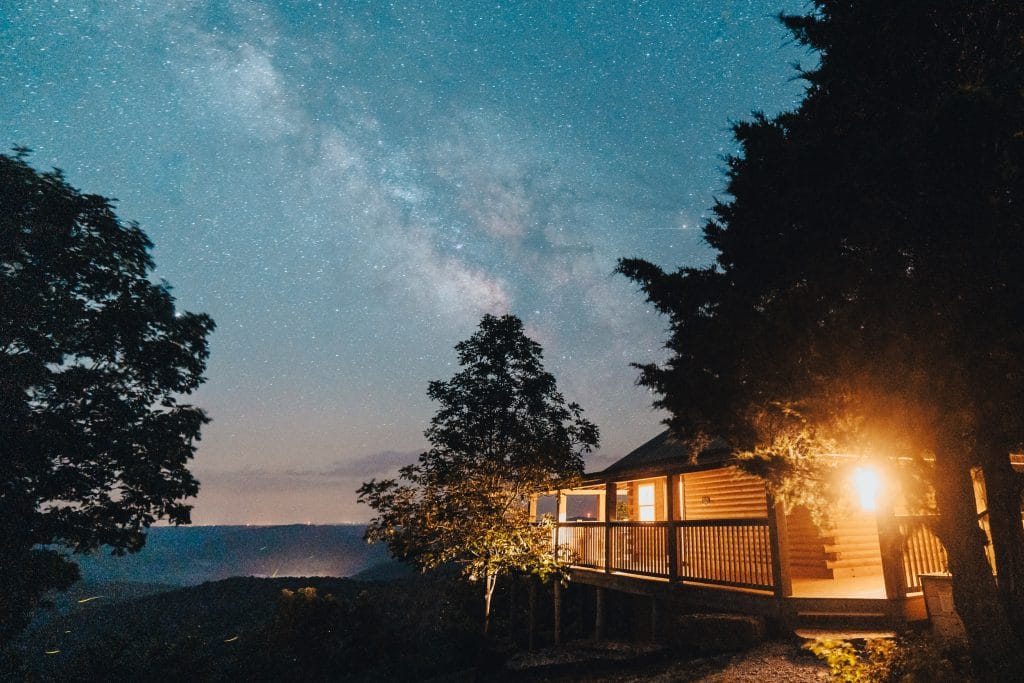
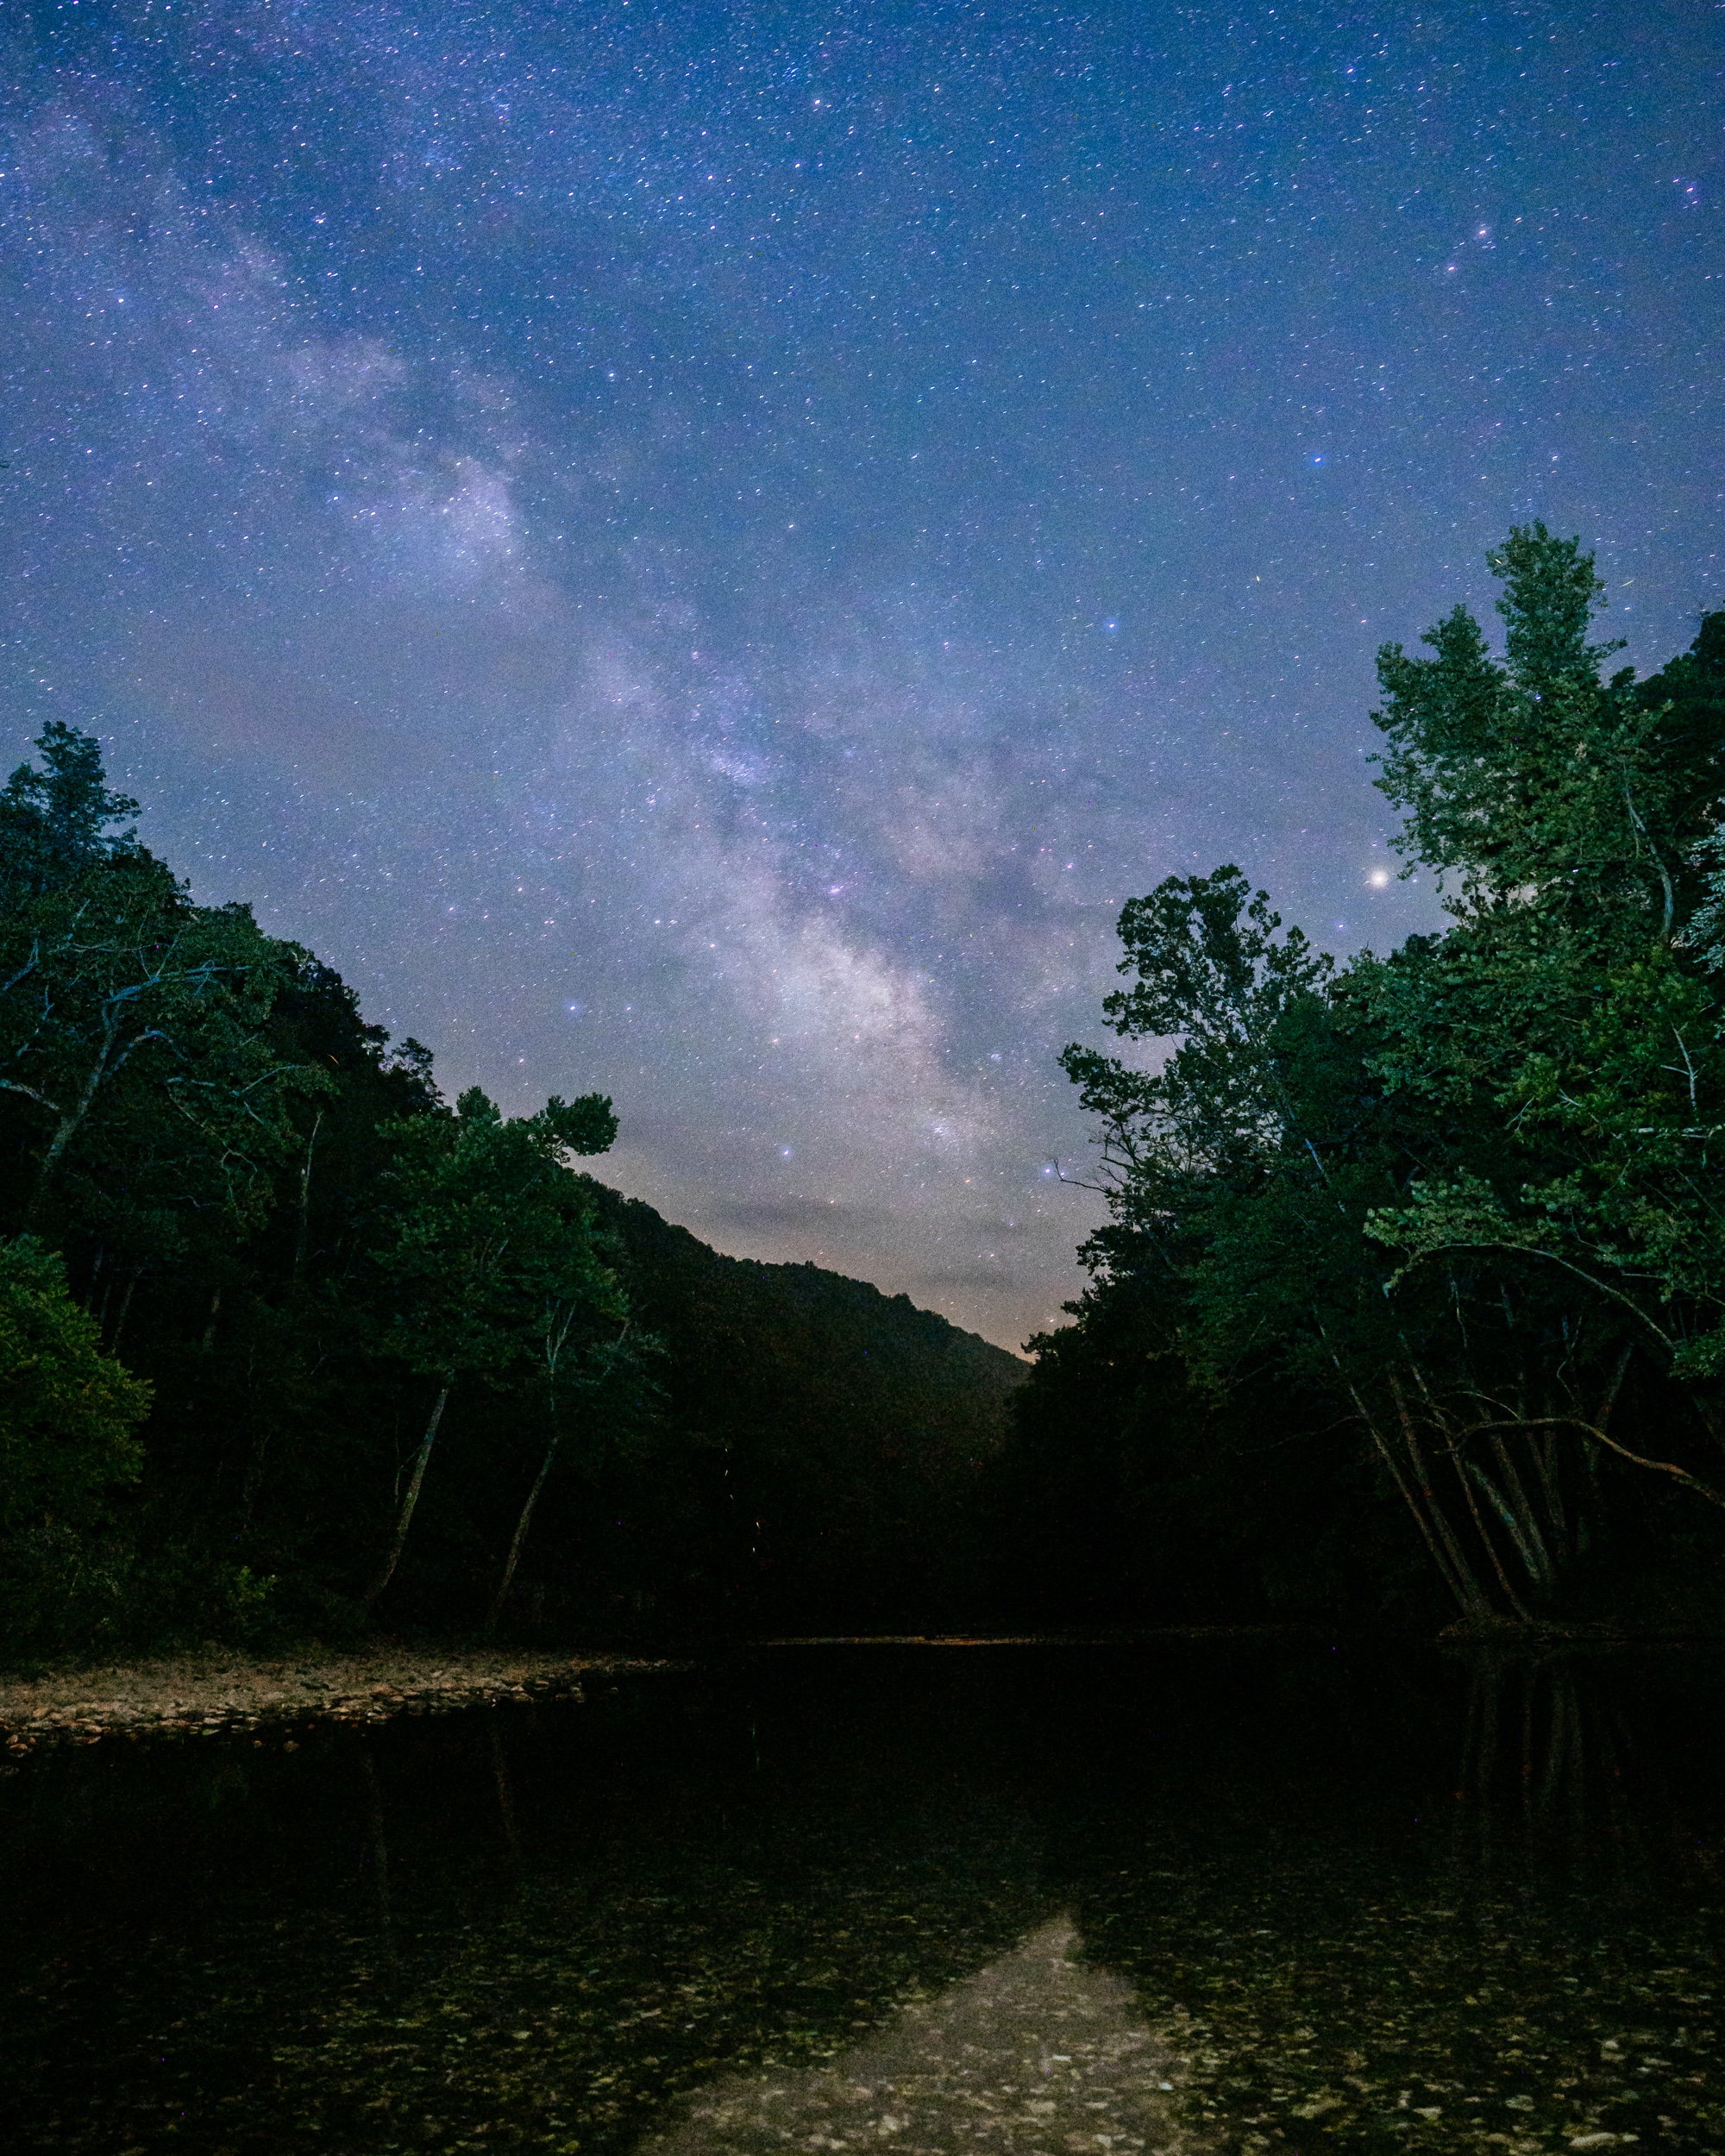
Location: Finding a dark sky is one of the most important parts of photographing the Milky Way, and the Buffalo River area (a designated International Dark Sky Park) is a great choice for capturing the night sky.
Season: The Milky Way is at its brightest over Ponca during the summer months.
Moon: The Buffalo has an exceptionally dark sky thanks to the area’s low light pollution but a bright moon can over-power the sky no matter how dark of an area you are in. Try to plan your shoot before or after moonrise/moonset or preferably around a new moon when the skies are darkest.
Weather: Be sure to watch the forecast and plan to shoot on a clear night. A few clouds can sometimes make a Milky Way shot interesting, but there isn’t much you can do with an overcast sky.
Using the Right Photography Gear
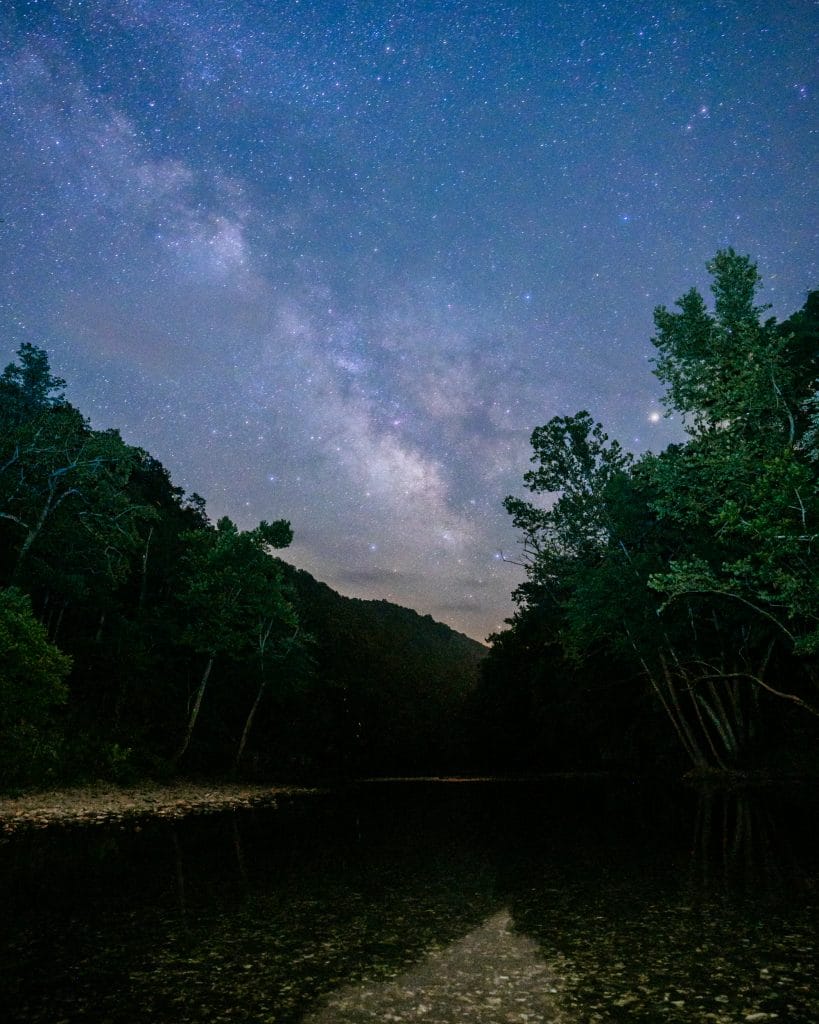
Camera: You don’t need a big expensive camera to shoot the Milky Way, but make sure you have a camera that allows you to use full manual settings. To capture the Milky Way your camera should allow you to adjust your Aperture, shutter speed, and iso.
Lens: The wider the lens, the more of the Milky Way you can get in the frame, and the longer you can shoot the stars before capturing the trails from the earth’s rotation (we’ll discuss this more when we get to shutter speeds). A lens as wide as 14mm or up to 24mm is recommended to allow enough time to expose the Milky Way.
Tripod: Don’t forget your tripod! Taking long 20-30 second exposures of the Milky Way requires a sturdy tripod (unless you have the steadiest hands in the world). Pro tip: use the camera’s built-in timer to avoid any camera shake from pushing the shutter button.
Finding the Right Settings
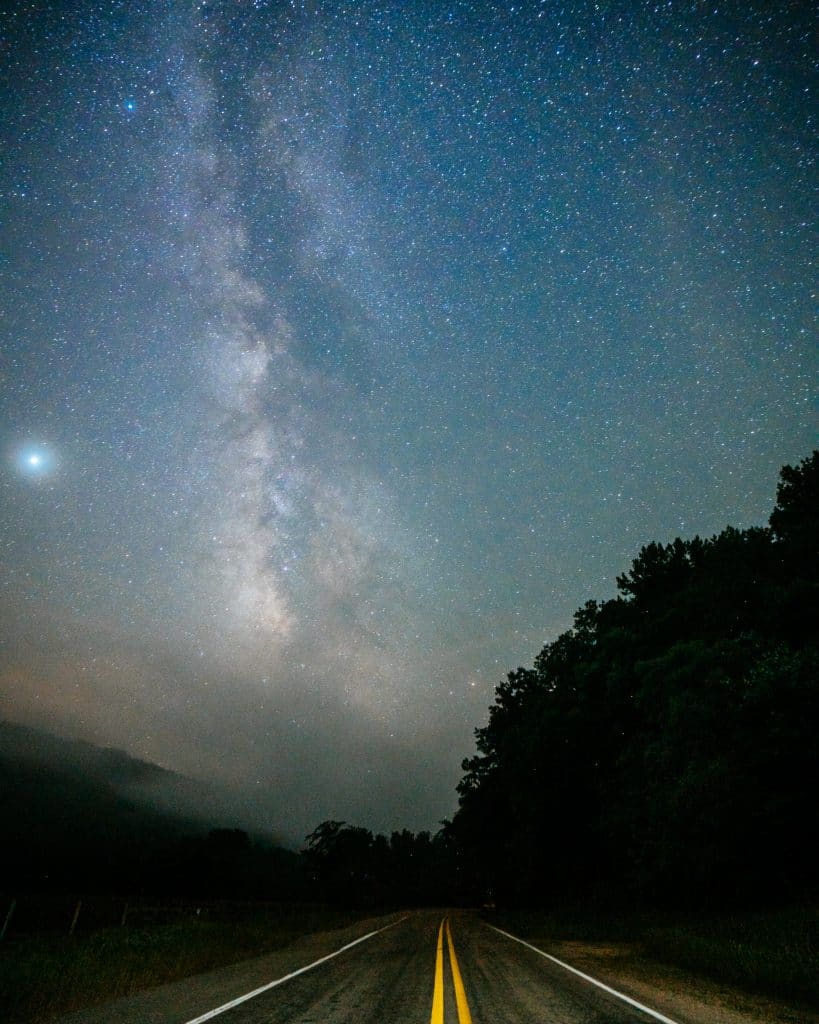
F-stop: The lower the f-stop you can use, the more light that your camera will be able to capture. An f-stop of f2.8 to F4 is recommended for best results.
Shutter speed: The longer your shutter stays open, the more light the camera can capture. The problem is that the entire time the shutter is open, the earth is also rotating. If you take an exposure over 30-seconds then the stars in your image will look like streaks of light. The length of time that you will be able to keep your shutter open before you begin to catch the rotation of the earth will depend on the focal length of your lens. The wider the lens, the longer you can shoot. A shutter speed of 20 to 30 seconds is recommended for capturing the Milky Way.
Iso: This will vary greatly on the equipment you are using. ISO increases or decreases the brightness of your photographs, but also affects both grain / noise levels and the dynamic range of an image. Generally, a good starting point is between 1600 iso-3200 iso for astrophotography. You could go much higher if you need more light (depending on the capabilities of your camera) but remember the higher your ISO the more noise that will appear in your image.
Ready to put these Milky Way photography tips to the test out here in Buffalo river country?! Come stay and play out in the dark skies here at a Buffalo Outdoor Center cabin!
